

What you’ll learn:
- How to create a portal
- How to add access groups
- How to publish integrations and skills
- How to prepare the employee experience for testing
- Complete Workforce Concepts
Create The Portal
Open Portals from the Workforce area and create a portal with a clear name and description. Use a name your users will recognize, such as a company, department, or customer workspace.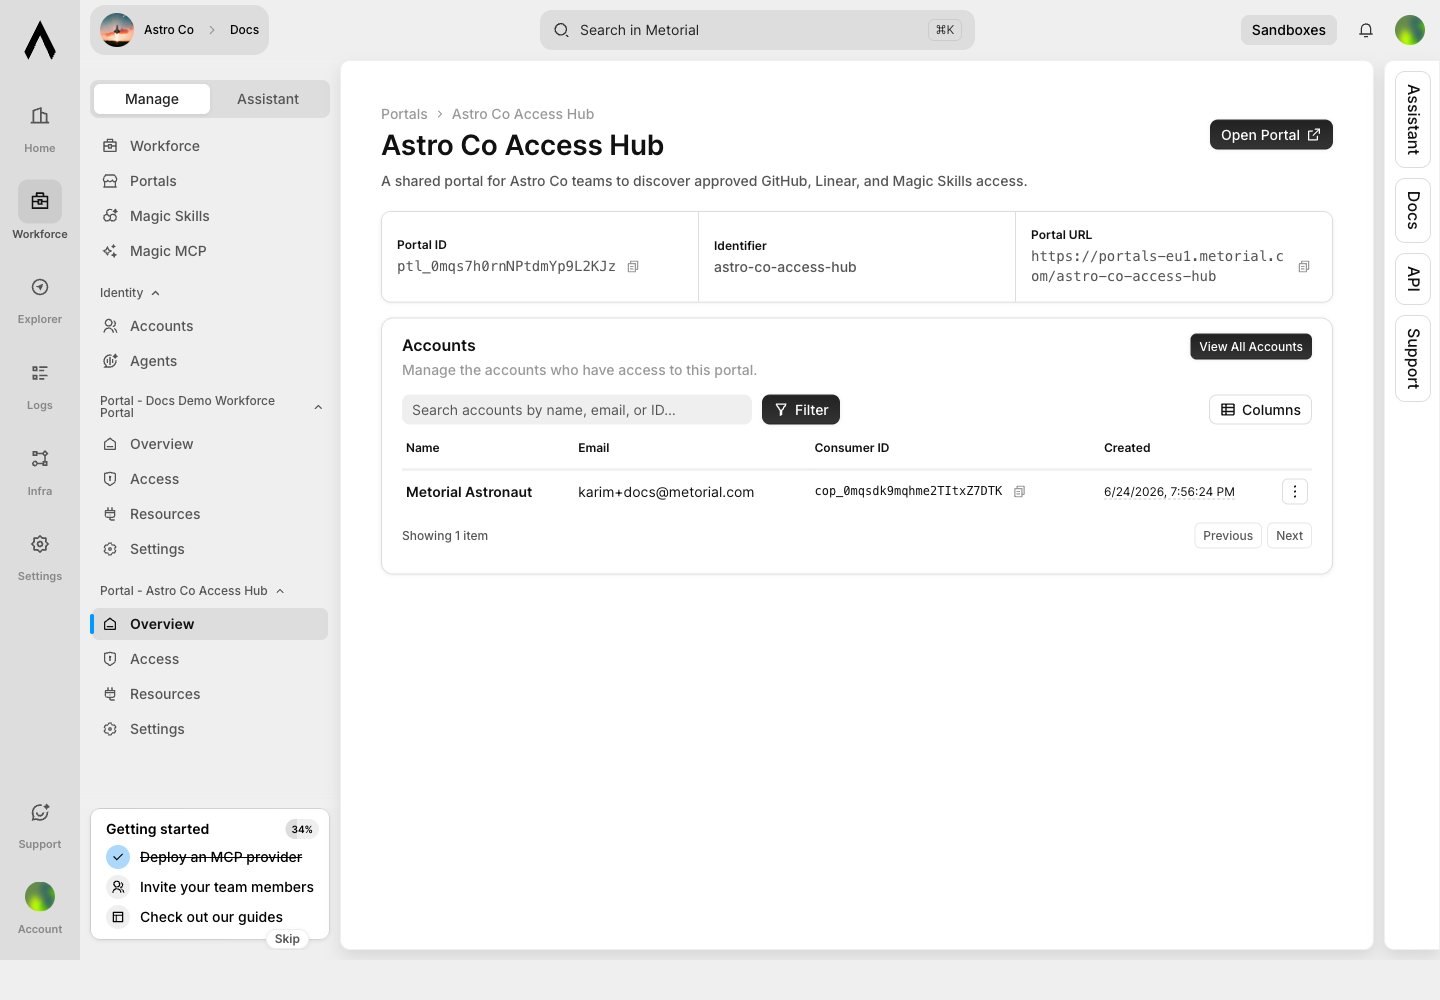
Add Access Groups
Use access groups to decide who can see each resource. You can assign groups to every account by default or map them from SSO group IDs.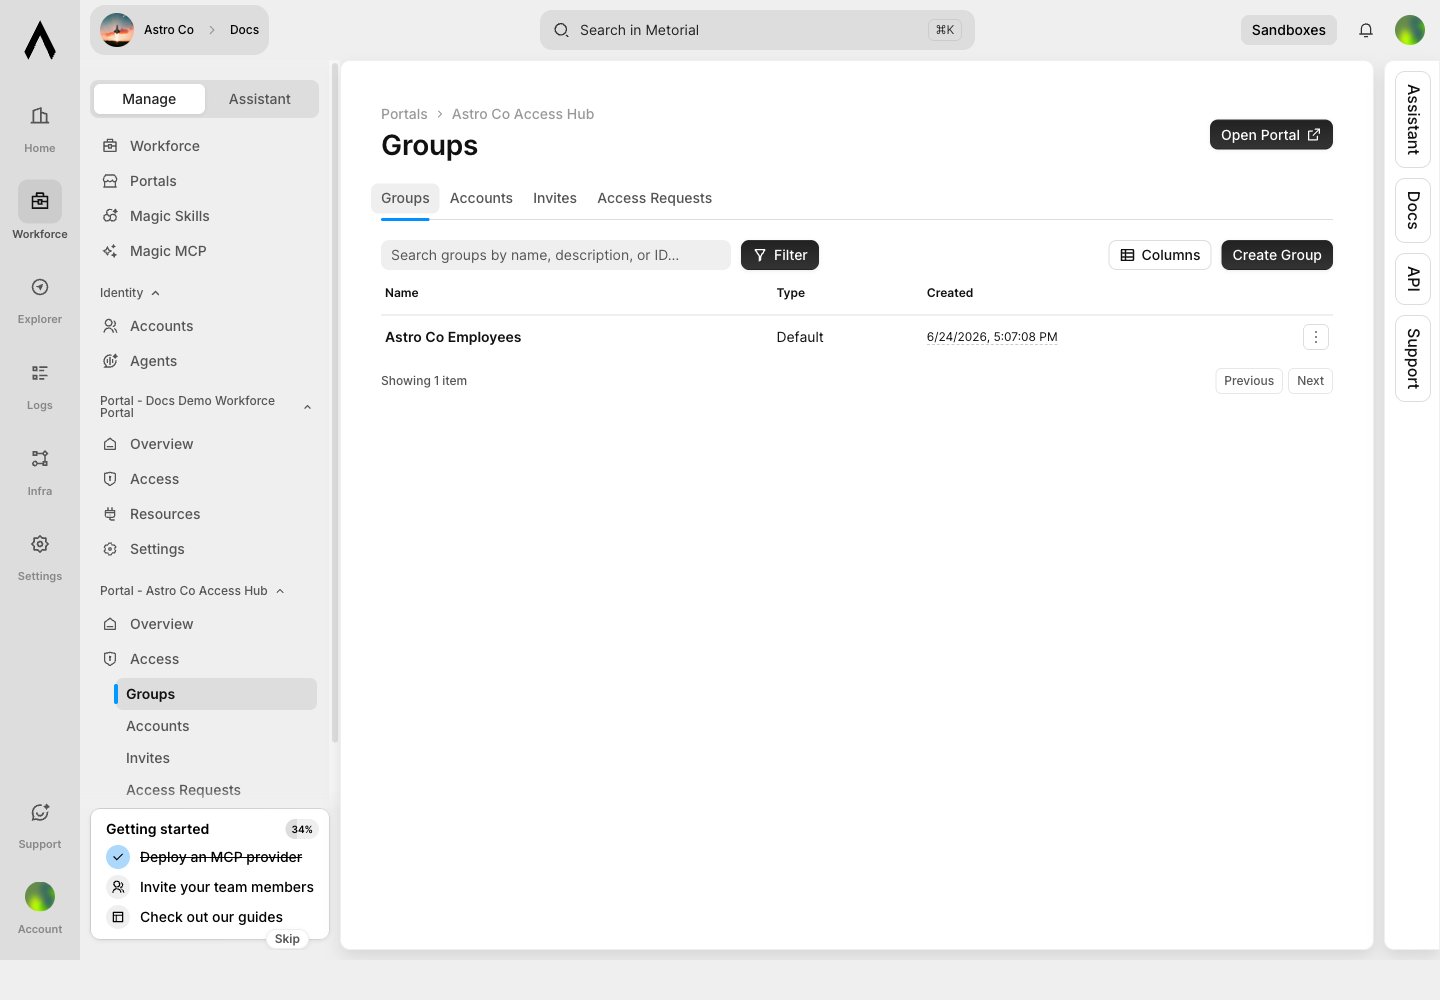
Publish Integrations
Add integrations to the portal so users can connect approved tools such as GitHub or Linear. Choose whether each integration is user-configured or pre-configured by an admin.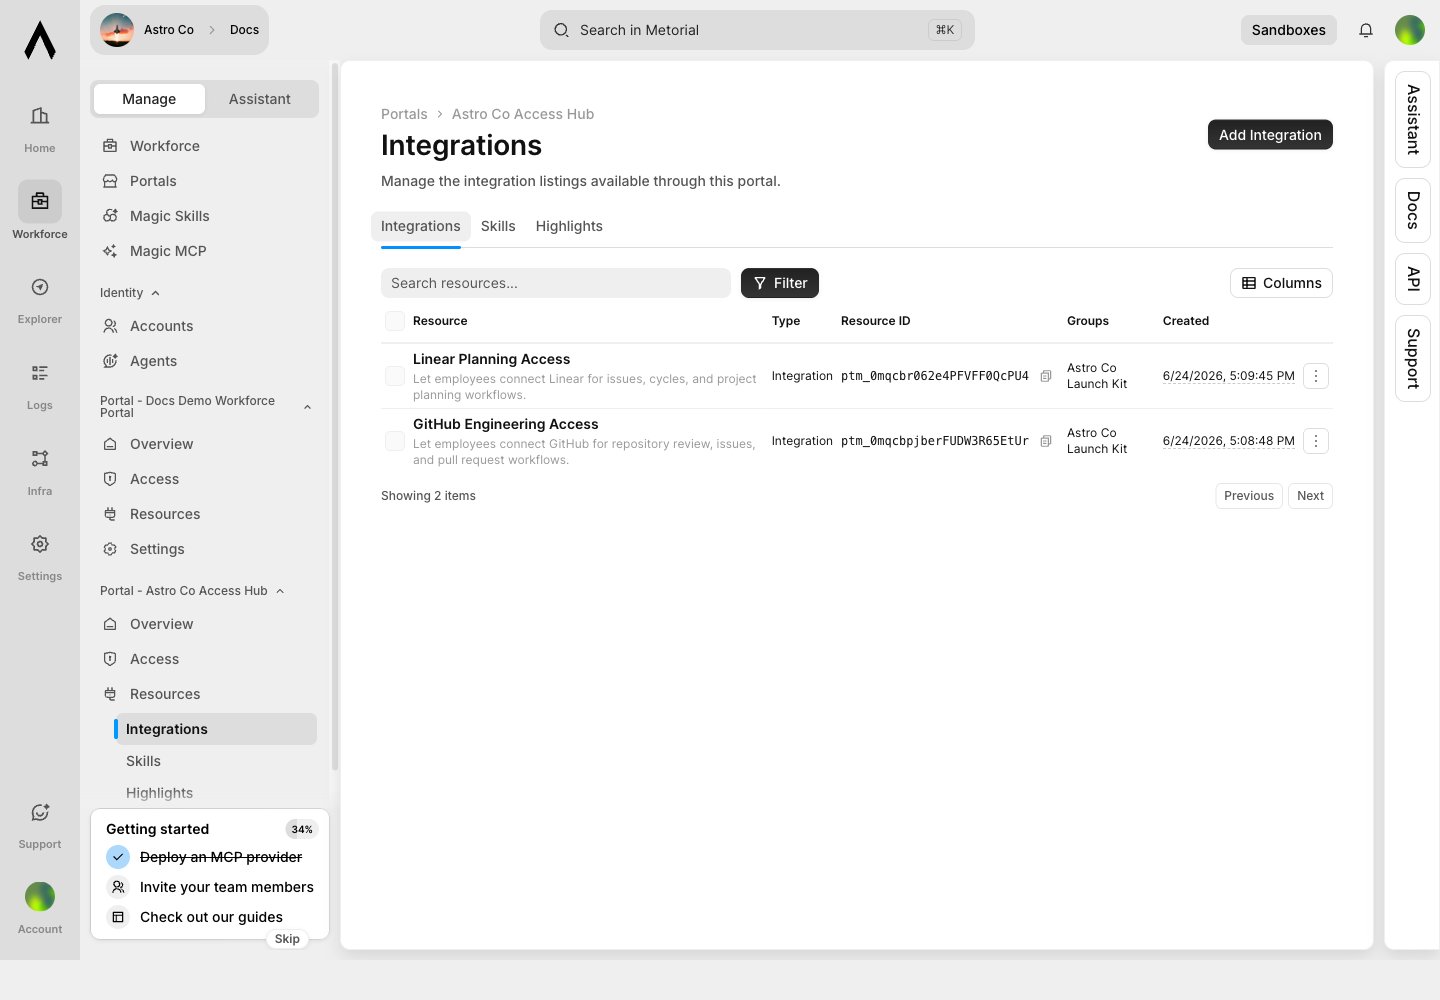
Publish Skills
Add skills to package repeatable workflows for users. A skill can show which integrations it uses, so users understand what access powers the workflow.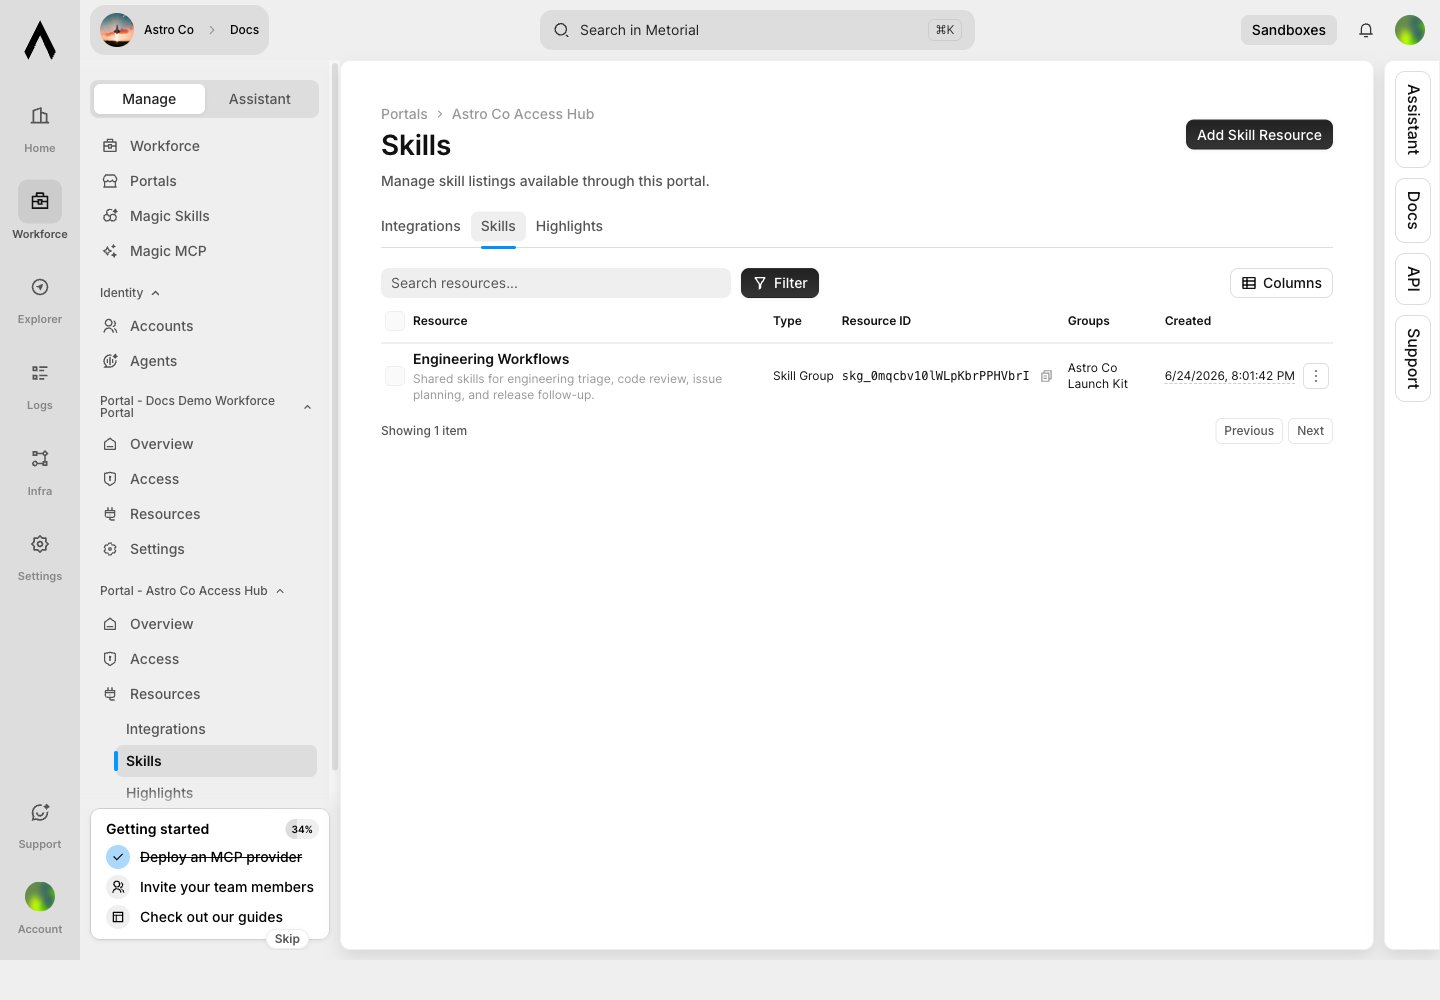
Highlight Starter Resources
Highlights shape the portal home page. Use them for recommended starter kits, team workflows, or the resources new users should try first.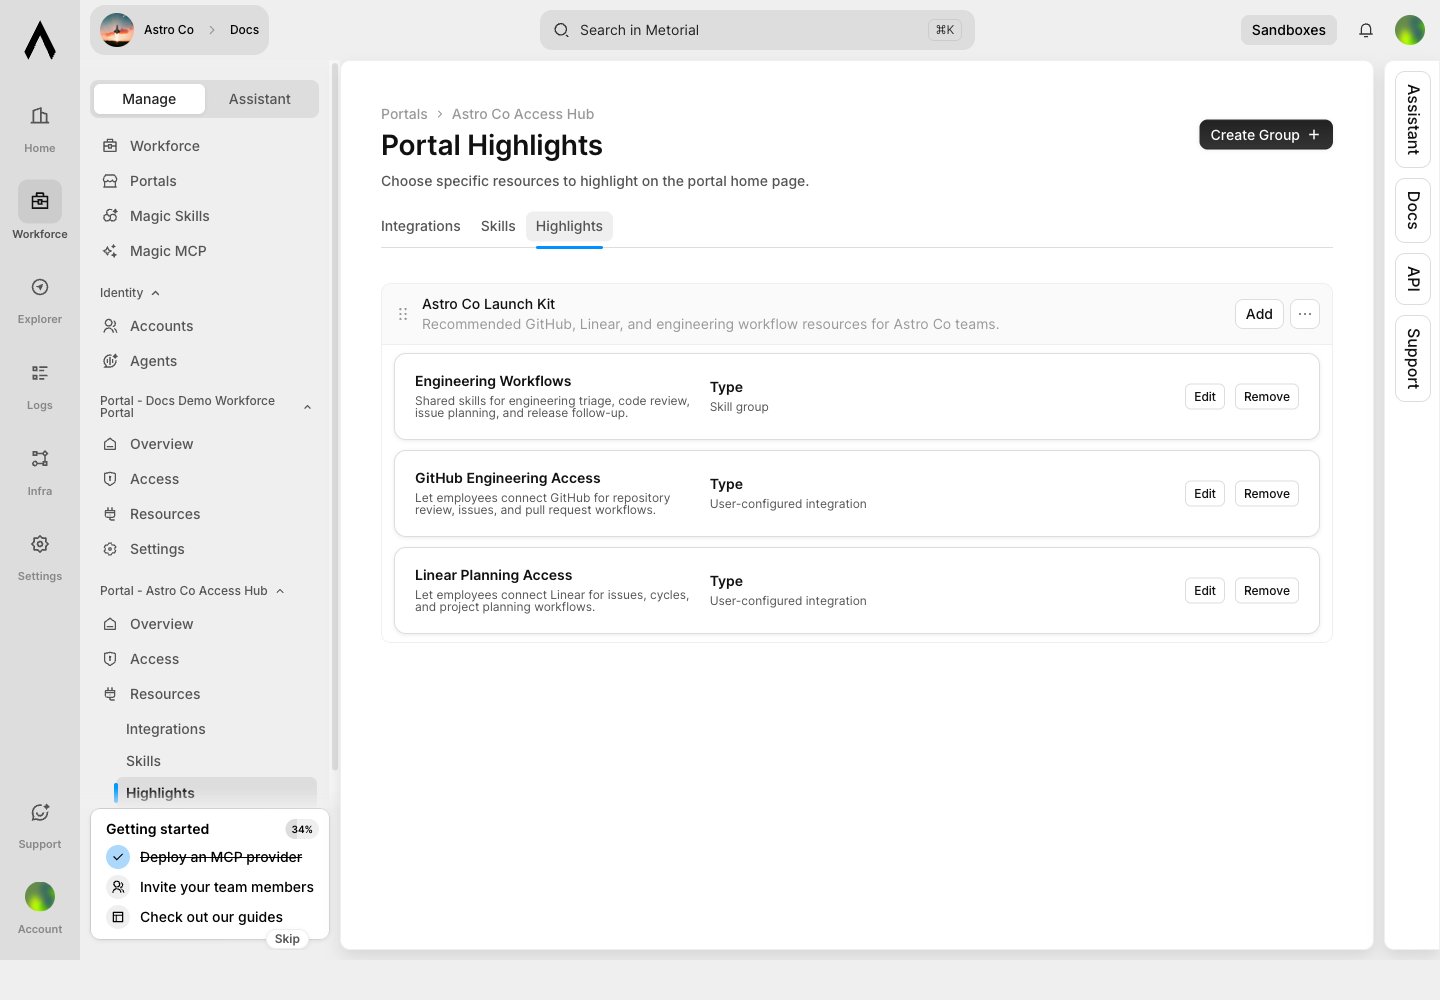
What’s Next?
Preview the portal from the user side and confirm that the right resources are visible.Next Up: Preview Portal Access
Review the employee portal before sharing it with users.